
3D Artist and Animator

Photogrammetry
Photogrammetry is the process of taking multiple pictures of an object, then combining these images to create a 3D scan of the object that is as close to photo realistic as possible.
Camera i use
Software i use
Nike Jordan Academy Shoes
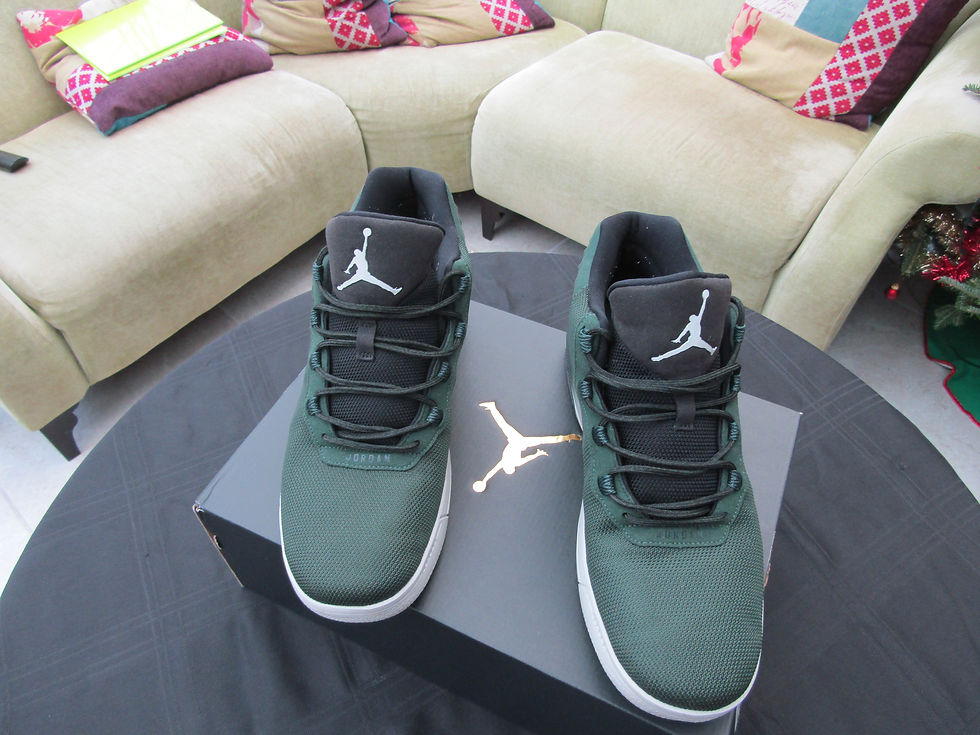


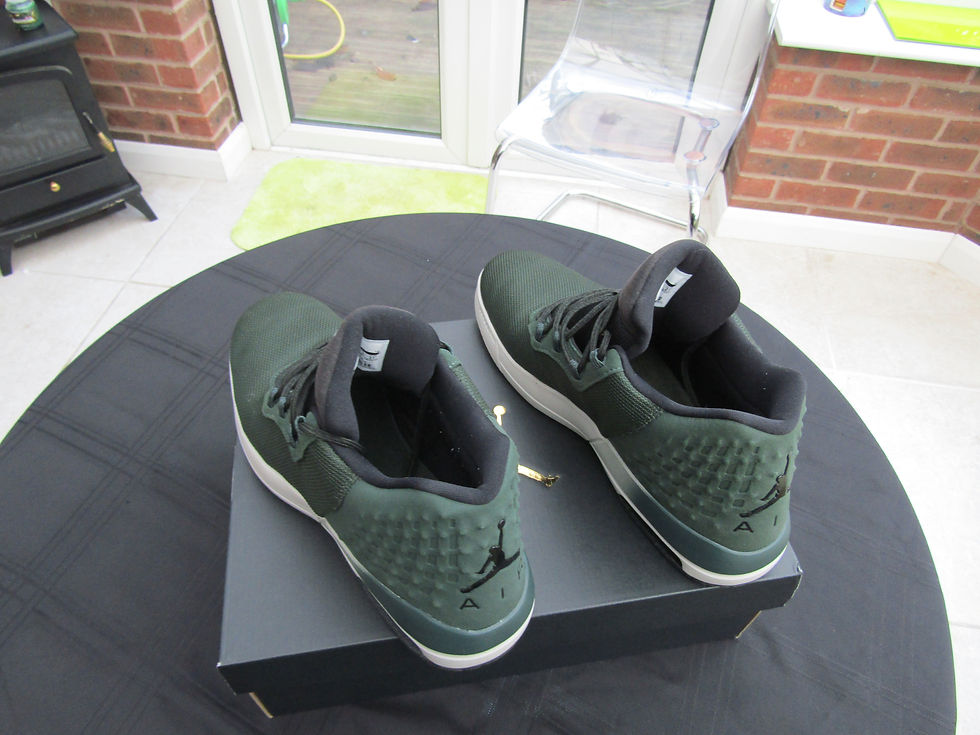
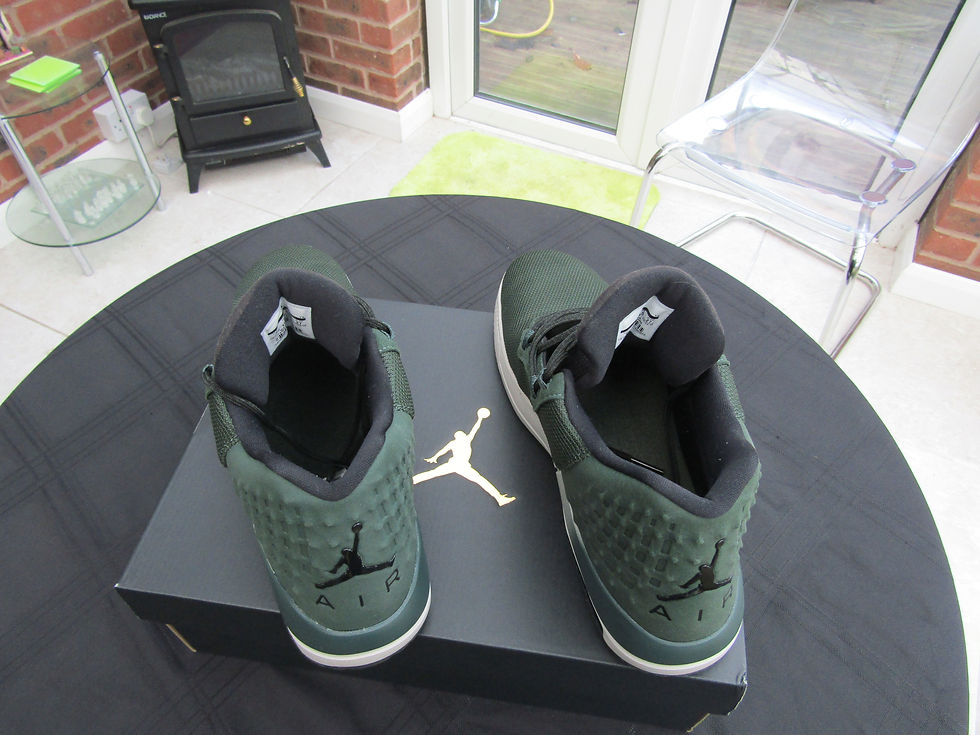

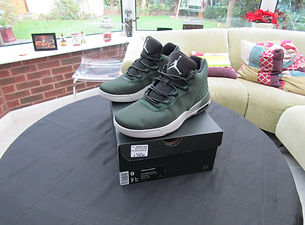
Photos taken to create this scan


After uploading this scan to sketchfab, i changed some settings to make my scan look as realistic as possible.
First i changed the shading mode from LIT to Shaderless. This is because when you scan an object using photogrammetery you capture the light information for the model therefore there is no need to render your model with lights.
Then i added some post prosessing effects to really make the scan stand out. I added sharpness to make the fine details on the model stand out, then i added some bloom to make the while soles on the shoes stand out.
Finishing Touches

I use a Canon PowerShot SX420 IS Bridge Camera to do all my photography and scans. For me this camera is perfect, it was relatively inexpensive and because its a bridge camera it performs better than a simple point and shoot.
This camera adds very little post processing to the images it takes, which in my opinion is perfect for scanning and photography.
Shooting method i use

I use Autodesk ReCap to make all my 3D scans, this is because the program is so simple to use, with other scan processing software you need to mask your images and order them. Autodesk ReCap does all this hard work for you.
Best of all your finished scan is generated on the Autodesk servers so it don't need a powerful computer to do this.

This is the most common method of shooting for photogrammetry, you take rings of photos around your object at different heights. You should take a photo every 5-10 degrees around your model, it is also important to ensure that your photos overlap by around 50% and that every part of your object is in at least 2 different photos for best results.